
DIY Amyris Solid Perfume: A Pocket-Sized Woody Scent
Solid perfume has a long history in fragrance culture, and for good reason. It travels well, applies precisely, and lasts on warm skin in a way that alcohol-based sprays sometimes cannot match. When you build one around amyris essential oil, you get something quietly luxurious: a soft, creamy woodiness that wears close to the body and deepens over the course of a day.
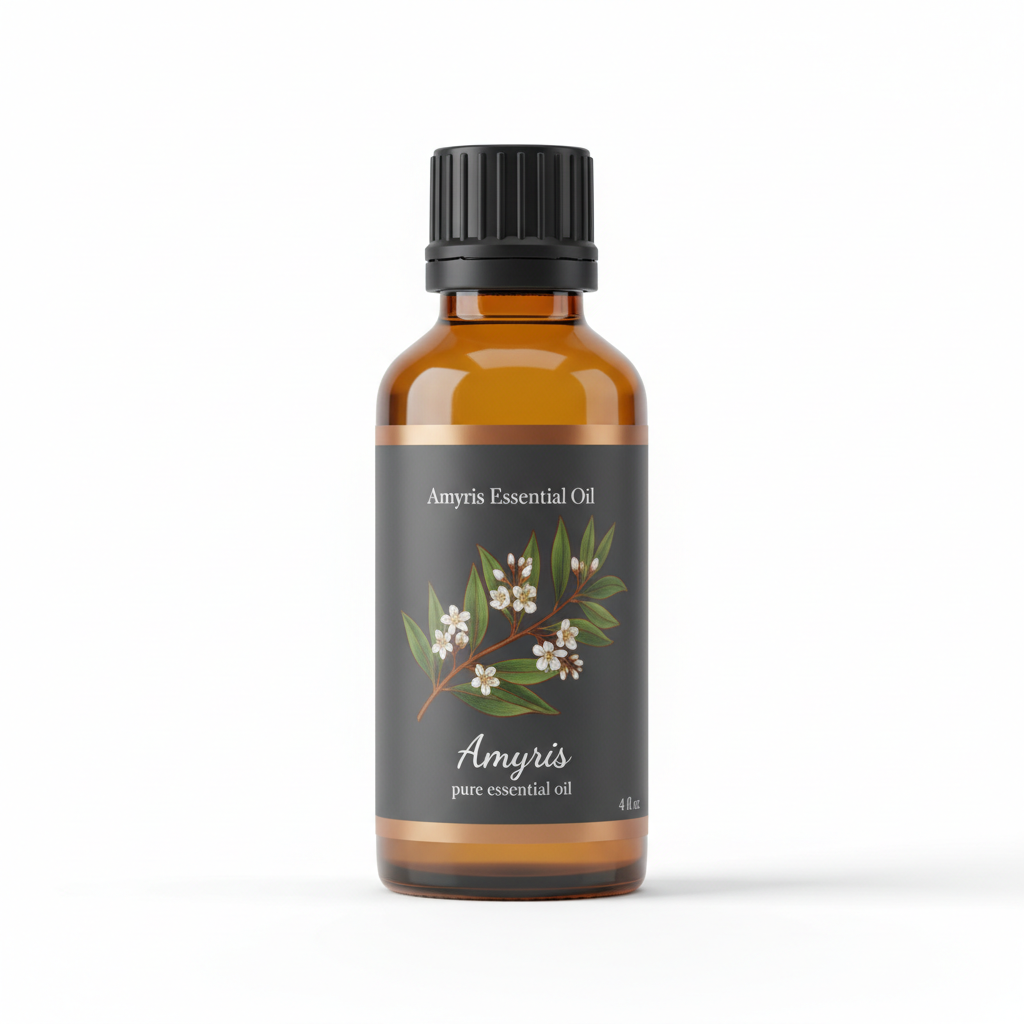
Amyris Essential Oil
Our own Amyris Essential Oil, in sizes from 0.5 oz to bulk.
From $23.99
Shop Now →This guide walks you through a complete DIY solid perfume recipe using amyris as the anchor note. You will find the full ingredients list, step-by-step instructions, safety information, storage guidance, and several scent variations you can make from the same base. If you are curious about how amyris behaves alongside other fragrance materials before you start blending, the amyris in perfumery ultimate guide is worth reading first.
What Makes Amyris a Good Choice for Solid Perfume?
Amyris (Amyris balsamifera) is sometimes called West Indian sandalwood, though it belongs to a different botanical family entirely. The oil is steam-distilled from the wood and branches of a small Haitian tree. Its scent profile is soft and balsamic, with a faint sweetness underneath a dry woody core. It does not project loudly. That restraint is exactly what makes it well-suited to a solid perfume format.
Solid perfumes release fragrance slowly and subtly. They reward closeness rather than announcing themselves across a room. Amyris fits that rhythm perfectly. It also has excellent tenacity in a wax base, meaning the scent lingers without fading quickly.
From a practical standpoint, amyris is one of the more affordable base-note oils available. You are not paying a premium for a name. You are getting genuine woody depth at a price point that makes experimenting worthwhile. If you have been exploring sandalwood alternatives like amyris, cedarwood, and ho wood, you already know how well amyris holds its own against pricier options.
Recipe Overview
- Difficulty level: Beginner-friendly
- Active prep time: 20 to 25 minutes
- Cooling and setting time: 1 to 2 hours
- Yield: Approximately 3 small tins (10 ml each) or 1 standard 30 ml tin
- Shelf life: 12 to 18 months when stored correctly
Ingredients
Base (The Wax and Carrier Layer)
| Ingredient | Amount | Notes |
|---|---|---|
| Beeswax pellets | 10 g (about 2 teaspoons) | Yellow beeswax adds a faint honey note; white is more neutral |
| Jojoba oil | 20 g (about 4 teaspoons) | Technically a liquid wax; very stable and skin-compatible |
| Fractionated coconut oil | 10 g (about 2 teaspoons) | Keeps the texture smooth and slippery on application |
Fragrance Layer (Essential Oils)
| Ingredient | Amount | Role in the Blend |
|---|---|---|
| Amyris essential oil | 30 drops | Base note, woody anchor |
| Cedarwood (Atlas or Virginia) essential oil | 15 drops | Base note, adds dry depth |
| Frankincense essential oil | 10 drops | Base-to-mid note, adds resinous lift |
| Bergamot essential oil (bergapten-free) | 8 drops | Top note, citrus brightness |
| Vetiver essential oil | 5 drops | Base note, earthy grounding |
Total essential oil drops: 68 in approximately 40 g of carrier base. This results in a concentration of roughly 8 to 9 percent, which is within the safe range for a leave-on solid product applied to intact skin. See the safety section below for full guidance.
Optional Additions
- A small pinch of cosmetic-grade mica powder for a subtle shimmer effect in the finished product
- Half a teaspoon of candelilla wax (vegan alternative to beeswax, see variations)
Equipment You Will Need
- Digital kitchen scale (recommended over volume measurements for accuracy)
- Small glass measuring jug or heat-safe pitcher
- Double boiler or a heatproof bowl set over a saucepan of simmering water
- Silicone spatula or glass stirring rod
- Pipette or dropper
- Small tins or glass pots with lids (10 ml or 30 ml size)
- Protective gloves and eye protection
Step-by-Step Instructions
-
Prepare Your Workspace
Clear and wipe down your surface. Have your tins ready and open before you start melting anything. Hot wax sets quickly, and fumbling for a lid with one hand while holding a pouring jug in the other is an easy way to make a mess. Lay down a sheet of parchment paper in case of drips.
-
Melt the Beeswax
Add the beeswax pellets to your glass jug or double boiler insert. Set it over gently simmering water, not a rolling boil. Beeswax melts at around 62 to 65 degrees Celsius (144 to 149 degrees Fahrenheit). Stir occasionally and keep the heat low and steady.
-
Add the Carrier Oils
Once the beeswax is fully melted and clear, add the jojoba oil and fractionated coconut oil. Stir gently until the mixture is uniform. Remove the jug from the heat source at this point. You want the blend to cool slightly before you add essential oils, since high heat will drive off volatile aromatic compounds.
-
Check the Temperature
If you have a kitchen thermometer, wait until the mixture cools to around 55 to 60 degrees Celsius (130 to 140 degrees Fahrenheit). If you do not have a thermometer, wait two to three minutes after removing from heat, then test by hovering your wrist near the jug without touching. It should feel warm but not scalding.
-
Add the Essential Oils
Drop in your essential oils in this order: vetiver first (it is the thickest and slowest to blend), then amyris, cedarwood, frankincense, and bergamot last. Stir slowly and continuously for about 60 seconds. You will smell the blend beginning to develop immediately. The amyris will ground everything while the bergamot floats to the top of the scent profile.
-
Pour Into Tins
Work quickly. Tilt each tin slightly as you pour to reduce air bubbles. Fill to just below the rim. If the wax starts to set unevenly or you see sinkholes forming as it cools, you can remelt very gently and top up the tins.
-
Cool and Set
Leave the tins uncovered at room temperature for at least one to two hours. Do not move them or put the lids on until the surface is completely firm and matte. Covering too soon traps condensation and affects the texture.
-
Label and Store
Write the batch date and full ingredient list on each tin. This matters both for your own reference and for food safety if tins are stored near edibles. See storage instructions below.
Safety Information: Please Read Before You Start
Important: Essential oils are potent concentrated materials. Proper dilution and skin testing are not optional steps. The guidelines below reflect general best practice for cosmetic use on adults. Always consult a qualified healthcare provider before using any new topical product if you have specific skin concerns, are pregnant or nursing, or are making products for children or older adults.
Dilution Ratio
This recipe uses approximately 8 to 9 percent total essential oil concentration in the finished product. For a solid perfume applied in small amounts to pulse points (wrists, neck, inner elbow), this falls within widely accepted cosmetic fragrance guidelines. Do not increase the essential oil quantities beyond what is listed without recalculating your dilution ratio.
Patch Testing
Before wearing the finished perfume, apply a small amount to the inside of your elbow. Leave it on for 24 hours and check for any redness, itching, or unusual skin response. If you notice any of these, discontinue use.
Photosensitivity
This recipe uses bergapten-free bergamot, which significantly reduces the risk of sun-related skin reactions. If you substitute regular (non-bergapten-free) bergamot, do not apply to skin that will be exposed to sunlight or UV light within 12 hours of application.
Contraindications and Special Populations
- Not recommended for use on children under 12 without guidance from a qualified professional.
- Consult a midwife or qualified healthcare provider before use during pregnancy or while nursing.
- Avoid contact with eyes and mucous membranes.
- Keep all materials (especially during production) out of reach of children and pets.
Storage Instructions and Shelf Life
Store finished tins in a cool, dry location away from direct sunlight and heat sources. A drawer or cabinet works well. Avoid storing in a car glove box during warm months, as repeated melting and re-solidifying can alter the texture and degrade the fragrance.
Shelf life is approximately 12 to 18 months, driven largely by the oxidation rate of the carrier oils. Jojoba is exceptionally stable and will extend the life of your batch. Fractionated coconut oil is similarly stable. You will know the product has turned if the scent becomes flat, rancid-smelling, or noticeably different from when you first made it.
Adding a small amount of vitamin E oil (tocopherol, at 0.5 percent of the total batch weight) can help slow oxidation and extend shelf life further. This is an optional addition and does not affect the scent profile.
Variations and Substitutions
Vegan Version
Replace beeswax with candelilla wax at a 1:2 ratio. Candelilla is harder than beeswax, so you need less of it. Use 5 g of candelilla wax in place of the 10 g of beeswax. The texture will be slightly firmer and less creamy, but the scent performance will be similar.
Warmer Spice Variation
Swap the bergamot and frankincense for 8 drops of cardamom essential oil and 6 drops of black pepper essential oil. The amyris and cedarwood remain as the woody base, but the cardamom and pepper push the blend in a spicier, more autumnal direction. This variation pairs beautifully with the kinds of blends explored in the cozy winter diffuser blends with amyris and warm spices guide, if you want your solid perfume and your home atmosphere to complement each other.
Softer Floral Version
Reduce the vetiver to 2 drops and replace the cedarwood with 12 drops of ylang ylang essential oil. Add 8 drops of geranium. The amyris still anchors the base, but the overall impression shifts toward a floral-woody rather than a straight woody character. Use this variation if you find the original blend reads as too dry or austere for everyday wear.
Single-Note Version
For a very clean, minimalist take on this recipe, use amyris as the only essential oil at 60 drops total in the same wax base. The resulting scent is remarkably wearable on its own: creamy, quiet, and genuinely distinctive. This version also makes it easier to understand what amyris actually smells like before you start layering other notes on top of it.
Adjusting Texture
If your finished solid perfume feels too hard and difficult to pick up with a fingertip, reduce the beeswax by 1 to 2 g in your next batch. If it feels too soft and slightly greasy on application, increase the beeswax by the same amount. Climate matters here. A formula that works well in a cool, dry environment may be too soft in a humid, warm one.
How to Apply and Wear It
Warm your fingertip against the surface of the perfume for a second or two before swiping. This softens the wax slightly and allows you to pick up just enough product. Apply to pulse points: inside wrists, the base of the throat, behind ears, or the inside of the elbow. These spots radiate warmth and help the fragrance project gently throughout the day.
Because this is an amyris solid perfume, expect the scent to develop rather than announce itself. The top notes from the bergamot will be most noticeable in the first 20 to 30 minutes. After that, the blend settles into the deeper woody character of the amyris and cedarwood. This dry-down phase is where the perfume really finds its identity.
Solid perfume is also easy to layer over a matching or complementary scented body lotion if you want a bit more lasting presence on the skin. The wax helps lock fragrance in rather than letting it evaporate as quickly as an alcohol-based spray would.
Final Notes on This Recipe
Making your own homemade perfume with amyris is one of the more satisfying small projects in natural fragrance work. The materials are accessible, the process is forgiving, and the results are genuinely personal. No two batches will smell identical once you start adjusting the variations, and that is part of the appeal.
Start with the base recipe as written before you experiment. Get familiar with what amyris actually contributes to the blend. Then adjust from there, one material at a time, so you can track what each change does to the overall scent. Good perfumery at any scale comes down to that kind of careful, attentive observation.